A utility closet may be one of the smallest spaces in your home, but it can have one of the biggest jobs.
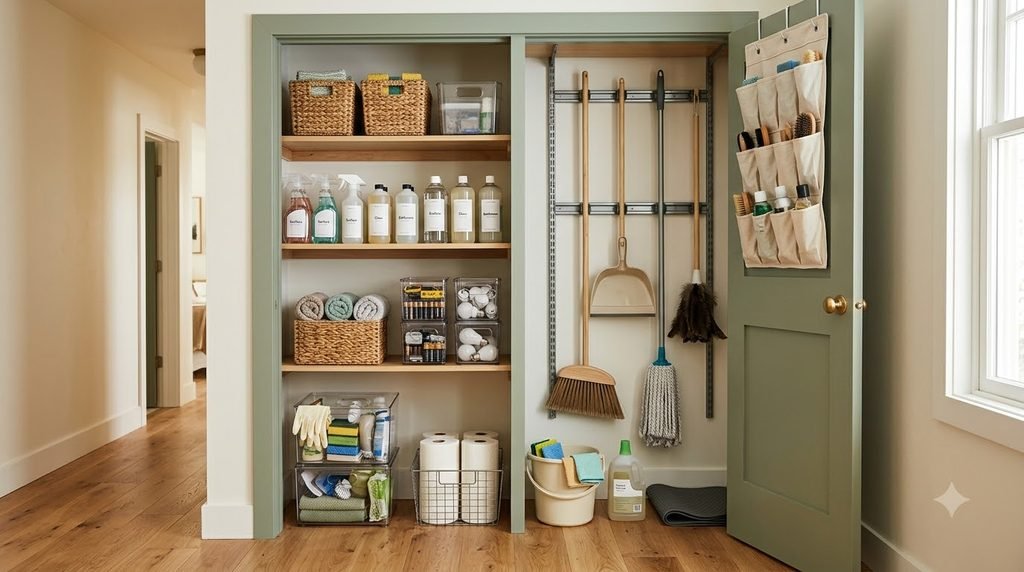
Cleaning sprays, paper towels, extra household supplies, brooms, mops, vacuum attachments, laundry products, light bulbs, tools, and other everyday items can all end up competing for the same shelves. Before long, the floor becomes difficult to use and finding one small item means moving everything around it.
The solution isn’t necessarily a bigger closet.
In most cases, a utility closet works better when you organize it around categories, frequency of use, vertical space, and access.
You also don’t need to buy a dozen containers before you start. A better approach is to first understand what belongs in the closet, remove what doesn’t, and then choose storage that solves a specific problem.
Here are practical ways to organize a utility closet without wasting the space you have.
Amazon Associate Disclosure: As an Amazon Associate I earn from qualifying purchases.
1. Empty the Closet Before You Organize It
Start with a complete reset.
Remove everything from the closet so you can see how much you actually have and how the shelves, walls, floor, and door are being used.
Create simple categories such as:
- Cleaning products
- Laundry supplies
- Paper goods
- Cleaning tools
- Household backups
- Small tools
- Miscellaneous items
Then remove obvious trash, empty packaging, duplicates you don’t need, and items that belong in another room.
Recent utility-closet organization guidance also recommends beginning with a full reset and sorting the contents before buying storage, because it gives you a more accurate picture of the space and what each category actually requires.
The goal isn’t to throw away everything.
It’s to make sure the closet is being used for things that genuinely belong there.
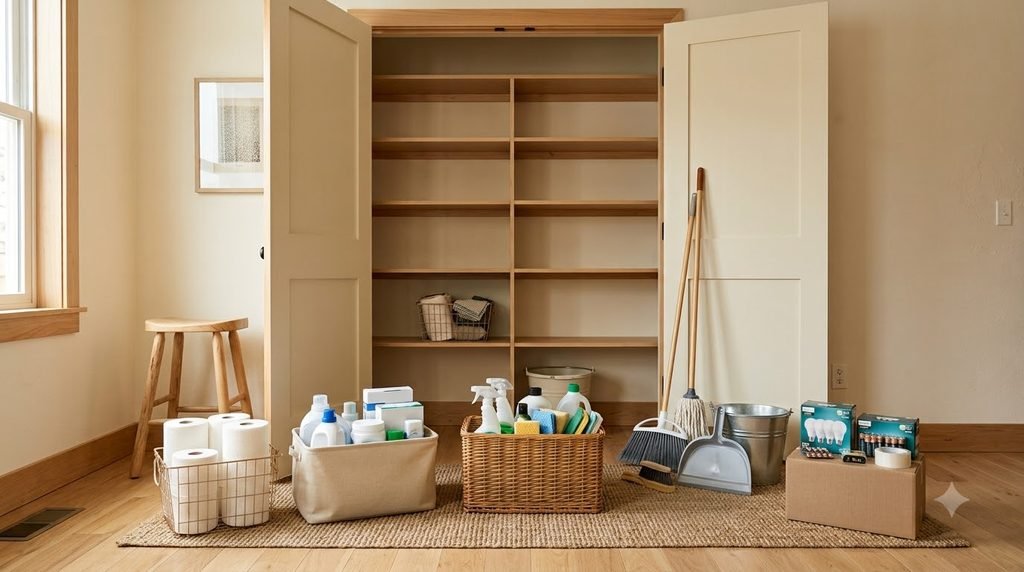
2. Decide What Actually Belongs in the Utility Closet
Utility closets often become unofficial overflow storage.
That’s how unrelated household items slowly take over.
Before putting everything back, ask:
Would I normally look here for this item?
If the answer is no, another storage area may make more sense.
A utility closet might reasonably hold:
- Cleaning products
- Brooms and mops
- Vacuum accessories
- Laundry supplies
- Paper products
- Household maintenance items
- Small tools
- Extra cleaning cloths
- Selected household backups
It doesn’t need to become the permanent home for everything you don’t know where else to put.
A smaller collection of useful items is much easier to organize than a closet full of “just in case” storage.
3. Create Zones Instead of One Giant Storage Area
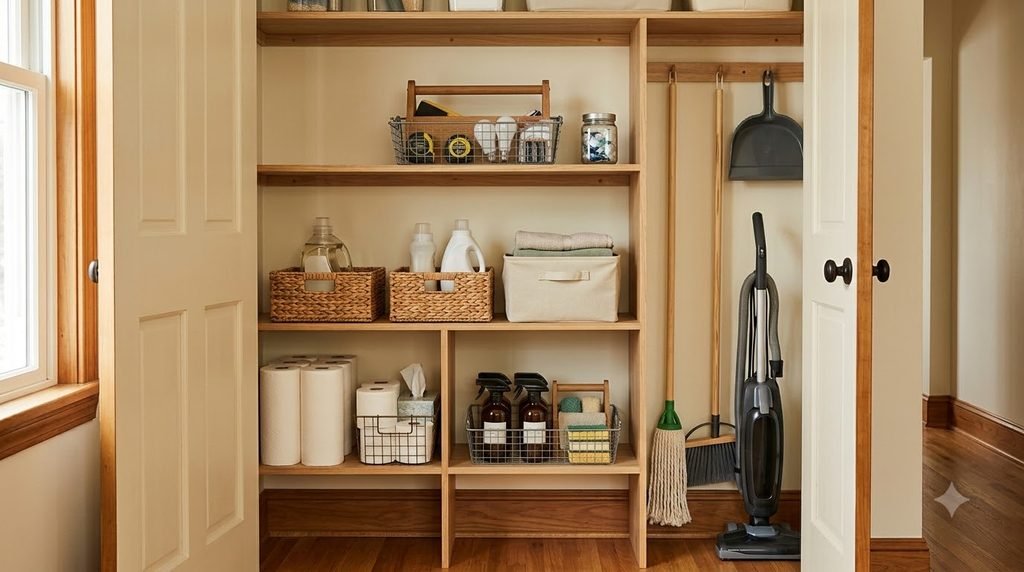
One of the easiest ways to make a utility closet easier to use is to create zones.
For example:
Everyday Cleaning Zone
Keep frequently used sprays, cloths, brushes, and other essentials together.
Floor-Care Zone
Group the broom, mop, dustpan, floor-cleaning tools, and vacuum accessories.
Backup Zone
Store refill bottles, spare paper goods, and other less frequently used supplies together.
Household Maintenance Zone
Use one contained area for items such as light bulbs, batteries, or basic household tools.
This prevents the closet from becoming one mixed collection where everything has to be moved to reach something else.
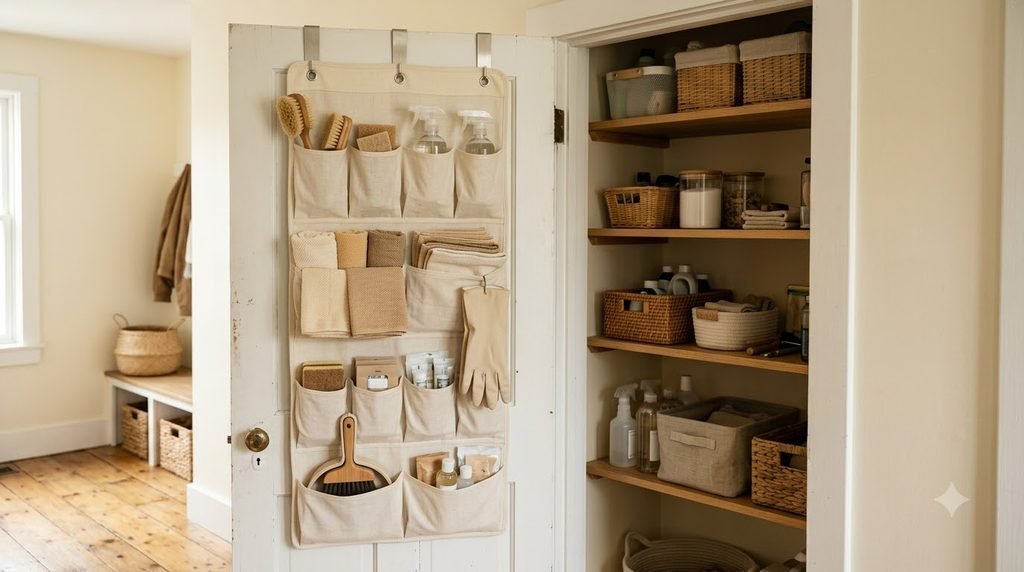
4. Use the Back of the Door
The inside of the closet door is often completely unused.
That’s valuable vertical real estate.
Depending on the door and available clearance, you can use an over-the-door organizer for smaller, lightweight items such as:
- Cleaning cloths
- Gloves
- Sponges
- Small brushes
- Refills
- Accessories
The idea is particularly useful in narrow closets where shelf space is limited. Current utility-closet guides frequently recommend using the back of the door to add storage without taking up additional floor or shelf space.
Before buying anything, check the door width, hinge clearance, and whether the organizer will interfere with shelves or the door frame.
Best for: Small lightweight cleaning and household items
What to check: Door clearance, width, pocket size, weight capacity, and whether the organizer fits without interfering with the shelves.
→ Check the current price on Amazon
5. Make Vertical Space Work Harder
If your utility closet has shelves with large gaps between them, you may be losing useful storage space above the items.
Shelf risers or additional adjustable shelving can create more usable levels.
This can work well for:
- Smaller cleaning bottles
- Paper products
- Folded cloths
- Refills
- Household supplies
The important part is accessibility.
Don’t create so many levels that you have to move one category just to reach another.
Current organization examples consistently emphasize going vertical in utility spaces, especially for closets where floor area is limited.
Best for: Tall shelves with unused vertical space
What to check: Width, depth, weight capacity, and clearance between levels.
→ Check the current price on Amazon
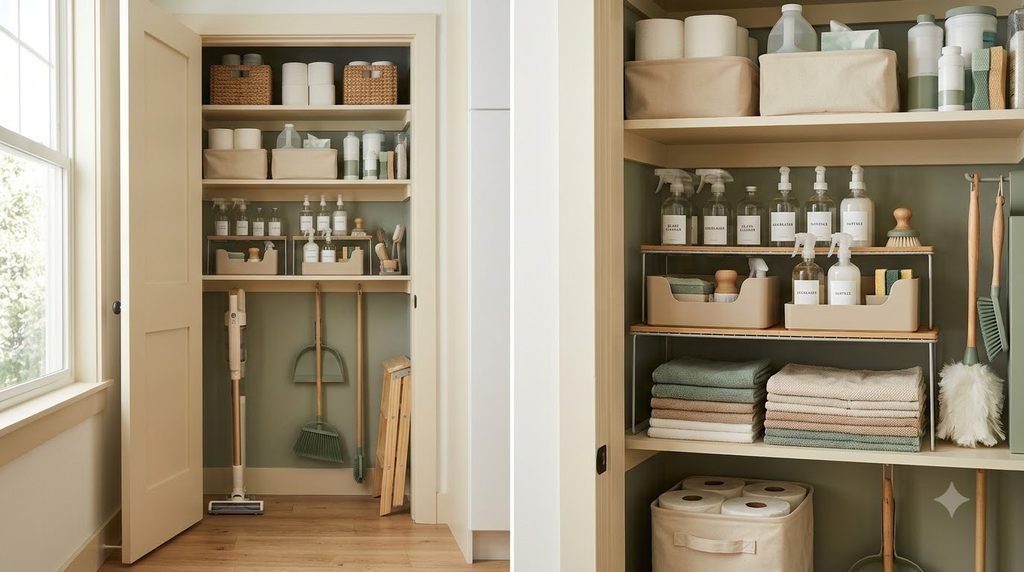
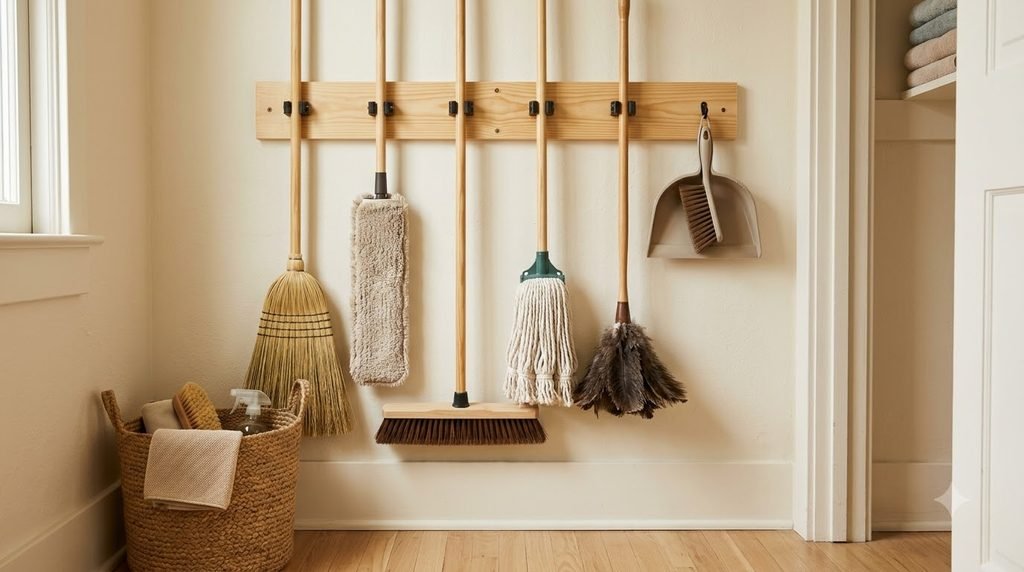
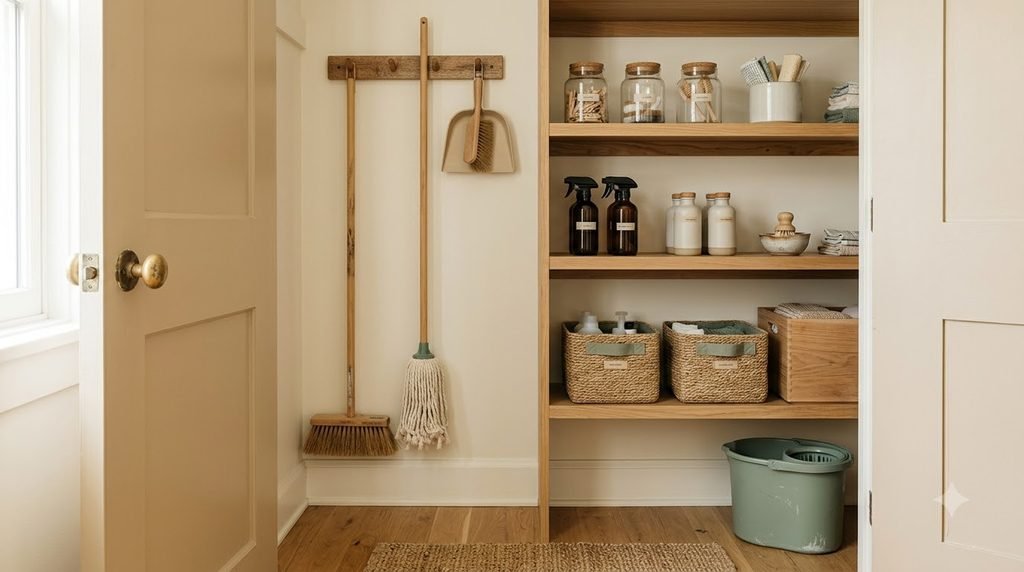
6. Give Brooms, Mops, and Long Tools Their Own Zone
Long-handled tools are one of the biggest reasons utility closets become difficult to use.
If brooms, mops, dusters, and other tools simply lean against a wall, they can fall over every time you open the door.
Create one vertical cleaning-tool zone.
A wall-mounted rack, hooks, or suitable removable grips can help keep long-handled tools upright and separated.
Current storage guidance recommends keeping these tools vertically organized rather than allowing them to form a pile on the floor.
Keep frequently used tools easy to reach.
Also make sure wet mop heads are fully dry before putting them into enclosed storage.
Best for: Long-handled cleaning tools
What to check: Mounting method, tool-slot size, wall/door compatibility, and available vertical space.
→ Check the current price on Amazon
7. Keep Everyday Supplies at the Easiest-to-Reach Level
Not everything in the utility closet deserves equal access.
Think about how often you use each category.
Eye level
Use for items you grab regularly.
Lower shelves
Good for heavier products or items that are safer stored lower when appropriate.
Upper shelves
Use for occasional or backup supplies that don’t need daily access.
This simple hierarchy makes the closet easier to navigate.
You don’t want to reach over a row of rarely used boxes every time you need the cleaner you use several times a week.
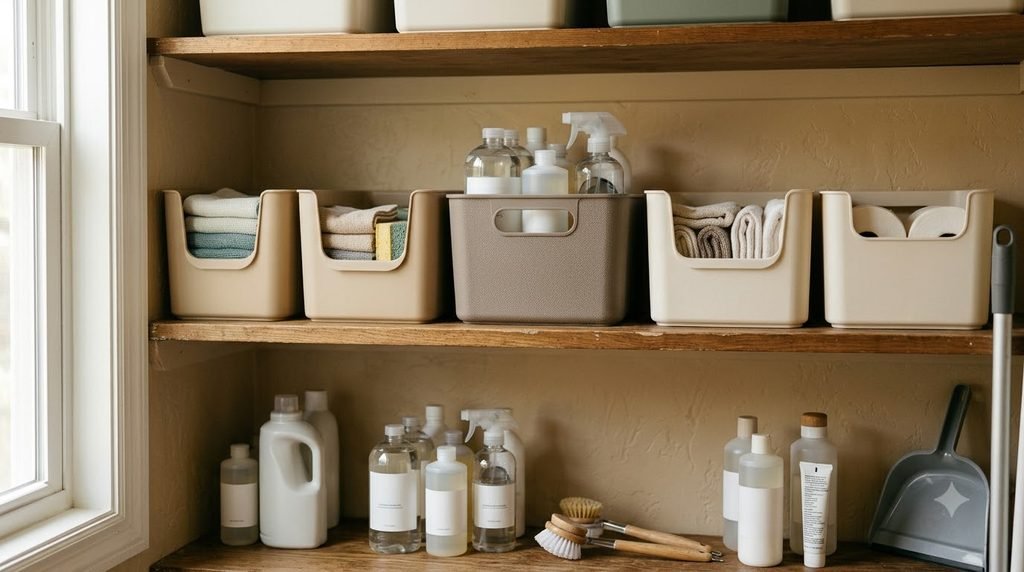
8. Use Bins for Backups and Bulk Supplies
Backups can easily make a utility closet look chaotic because they often come in different sizes and packaging.
Instead of allowing refill bottles, spare cloths, paper goods, and household extras to spread across shelves, group them into clearly defined bins.
For example:
Bin 1: Cleaning refills
Bin 2: Extra cloths and sponges
Bin 3: Household backups
Bin 4: Small maintenance items
Choose containers based on what you’re storing, not simply because they look attractive.
A container should make the category easier to access and control.
It shouldn’t become another place where unused items disappear.
Best for: Backups, refills, and grouped household supplies
What to check: Dimensions, stackability, handle design, and whether you can remove the bin without moving several others.
→ Check the current price on Amazon
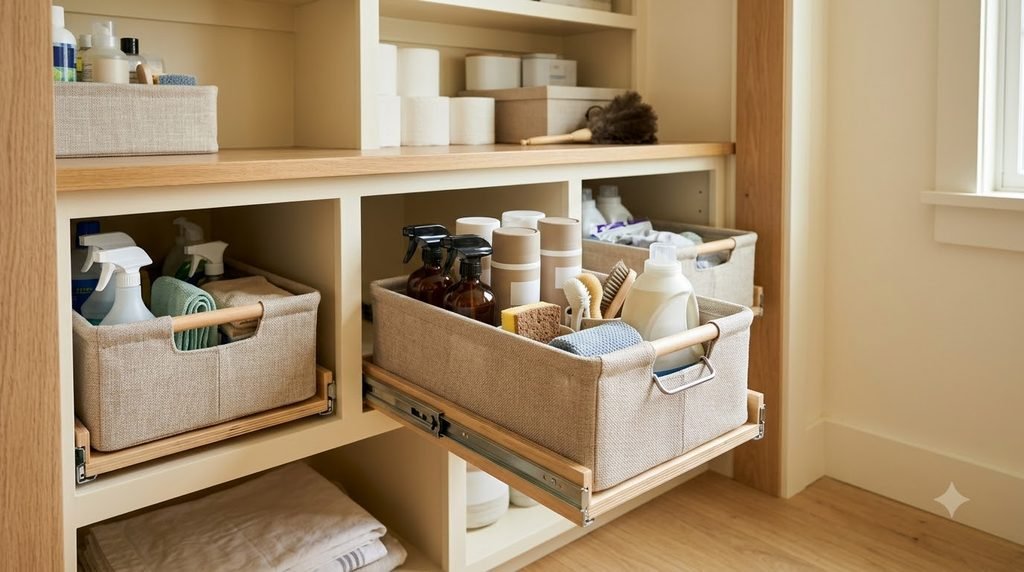
9. Make Deep Shelves Easier to Reach
Deep shelves create a visibility problem.
Small bottles get hidden behind larger ones, and items at the back can easily be forgotten.
Instead of creating multiple layers of products, try using:
- Pull-out bins
- Shallow containers
- Turntable organizers
- Sliding baskets
- Grouped categories
The right choice depends on the depth and layout of your shelves.
A pull-out system can be particularly useful when everyday supplies would otherwise disappear toward the back. Current utility and small-space storage coverage also highlights pull-out and flexible systems for making difficult-to-reach storage more accessible.
Best for: Deep shelves and cabinets
What to check: Width, depth, weight capacity, shelf compatibility, and how far the basket actually pulls forward.
→ Check the current price on Amazon
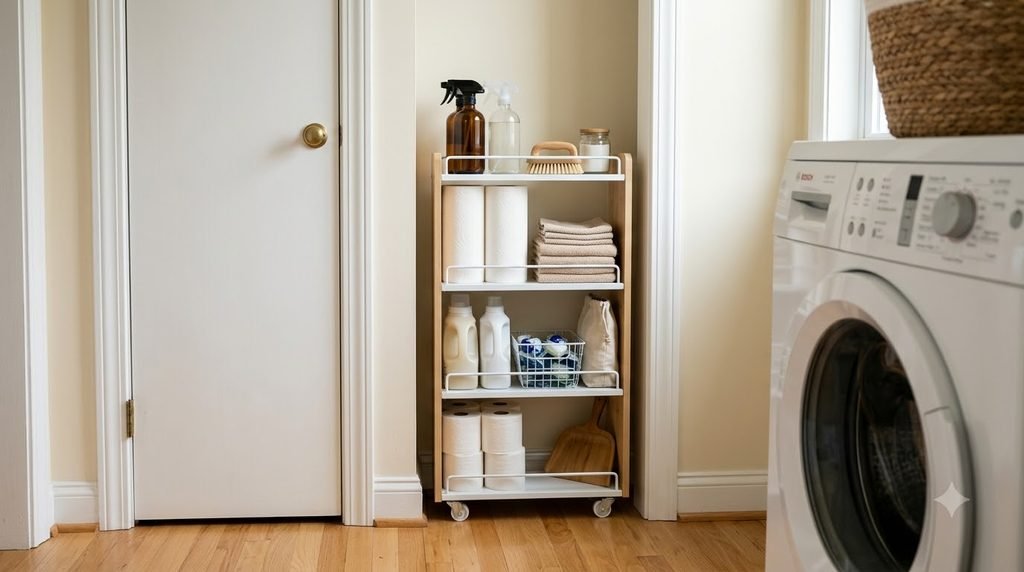
10. Use a Slim Rolling Cart in a Narrow Gap
Look around the closet for wasted narrow spaces.
If there is a gap beside a wall, shelf, washer, or other fixed object, a slim rolling cart may be able to use that space.
It can hold:
- Spray bottles
- Paper products
- Laundry supplies
- Backup cleaning products
- Small tools
This is a particularly useful idea when the available storage is narrow but relatively tall.
Recent small-space laundry organization projects are also using very narrow rolling carts to reclaim otherwise unused gaps.
Best for: Narrow gaps with usable vertical height
What to check: Exact width, depth, height, wheel clearance, and access to surrounding shelves.
→ Check the current price on Amazon
11. Keep Small Tools Together
Utility closets often become the place where miscellaneous hardware gets dumped.
Instead of letting small tools, batteries, screws, tape, and other items mix together, give them one defined category.
A small divided container or compact toolbox can work well.
You might create separate sections for:
- Batteries
- Screwdrivers
- Measuring tape
- Hooks
- Tape
- Small hardware
This is one place where a small container can save a lot of time because tiny items are difficult to find when mixed together.
12. Keep Cleaning Products Grouped by Task
You don’t necessarily need one bottle type per shelf.
Instead, group products according to the job they support.
For example:
Floor Care
Bathroom Cleaning
Kitchen Cleaning
General Cleaning
Laundry
This organization method can make the closet much easier to use because you can grab the category you need instead of searching through unrelated products.
It also makes duplicate products easier to notice.
If you find three half-used bottles of something similar, that’s a useful signal to reconsider your storage and purchasing habits.
13. Store Heavy or Occasional Items Strategically
Not everything needs to be at eye level.
Larger or less frequently used items can often be stored on lower or upper shelves depending on the item’s weight, shape, and your household’s needs.
For example:
- Spare paper goods
- Seasonal household supplies
- Less frequently used tools
- Backup cleaning products
- Bulky equipment
The exact arrangement depends on your closet and what is safe and comfortable for the people using it.
Avoid creating an unstable tower of heavy containers.
The goal is to make the space easier to use, not simply more densely packed.
14. Keep Hazardous Products Stored Responsibly
Cleaning products need more than organization—they need appropriate storage.
Follow the product label and manufacturer’s directions for storage.
For households with children or pets, make sure products that require restricted access are stored appropriately.
Do not transfer products into unlabeled containers simply to make the closet look prettier.
And never mix household cleaning chemicals.
A neat-looking closet isn’t worth compromising safe storage practices.
15. Don’t Over-Label Everything
Labels can help, but too many labels can make a small utility closet visually busy.
Label categories that genuinely benefit from identification, such as:
- Refills
- Batteries
- Household backup
- Small tools
- Specialty supplies
You don’t need to label every individual bottle.
The goal is quick recognition, not creating a filing system for cleaning supplies.
How to Organize a Utility Closet in the Right Order
When you’re starting from scratch, use this sequence:
Step 1: Empty
Remove everything.
Step 2: Edit
Discard empty, broken, expired, or genuinely unnecessary items.
Step 3: Group
Create categories based on how you use the items.
Step 4: Measure
Measure shelves, floor space, doors, gaps, and available height.
Step 5: Assign
Decide where each category belongs.
Step 6: Add Storage
Only now choose bins, racks, hooks, risers, or carts.
Step 7: Reset
Put everything away with the most frequently used items easiest to access.
This approach also follows the broader principle we use throughout JessicaMillers: organize what you actually need before buying storage for it.
What Not to Store in a Utility Closet
A utility closet can become cluttered when it starts absorbing every miscellaneous household item.
Before storing something there, ask whether it fits the purpose of the space.
Avoid turning the closet into a dumping ground for:
- Random paperwork
- Broken household items
- Unused decor
- Excess packaging
- Things that belong elsewhere
- Unused organizers
- Large objects that block access to everyday supplies
A utility closet works better when its storage categories are clear.
How to Keep Your Utility Closet Organized
A good organization system should not require a major reset every month.
Try a short maintenance routine:
Weekly
Return cleaning supplies to their zones.
Monthly
Check for empty bottles, duplicates, and supplies that need replenishing.
Seasonally
Review backup supplies and move seasonal items according to how often they’re needed.
Before shopping
Check what you already own.
This last step can prevent one of the most common organization problems: buying more of something because you can’t find the one you already have.
A 10-Minute Utility Closet Reset
You don’t need to empty the entire closet every time it gets messy.
Try this quick reset:
Minutes 1–2: Remove anything that clearly belongs elsewhere.
Minutes 3–4: Return bottles and supplies to their categories.
Minutes 5–6: Straighten the floor and long-handled tools.
Minutes 7–8: Check for empty packaging or products that need attention.
Minutes 9–10: Move the most frequently used items back into easy reach.
Then stop.
Small maintenance sessions can keep a useful system from gradually becoming another clutter problem.
Final Thoughts
A well-organized utility closet isn’t about fitting the maximum number of products into a tiny space.
It’s about making the space easy to understand and easy to use.
Keep everyday supplies accessible.
Use vertical space.
Give brooms and mops a dedicated zone.
Group similar products together.
Use the back of the door when appropriate.
Measure before buying storage.
And most importantly, don’t add organizers before you’ve decided what actually needs to be stored.
The best utility closet is not necessarily the one that holds the most.
It’s the one where you can quickly find what you need, return it when you’re finished, and keep the system working without constant effort.
Related JessicaMillers Articles
For more practical organization ideas, explore:
15 Smart Home Organization Solutions for Everyday Clutter
27 Small Laundry Room Organization Ideas
How to Organize a Small Home Office When You Don’t Have Much Space