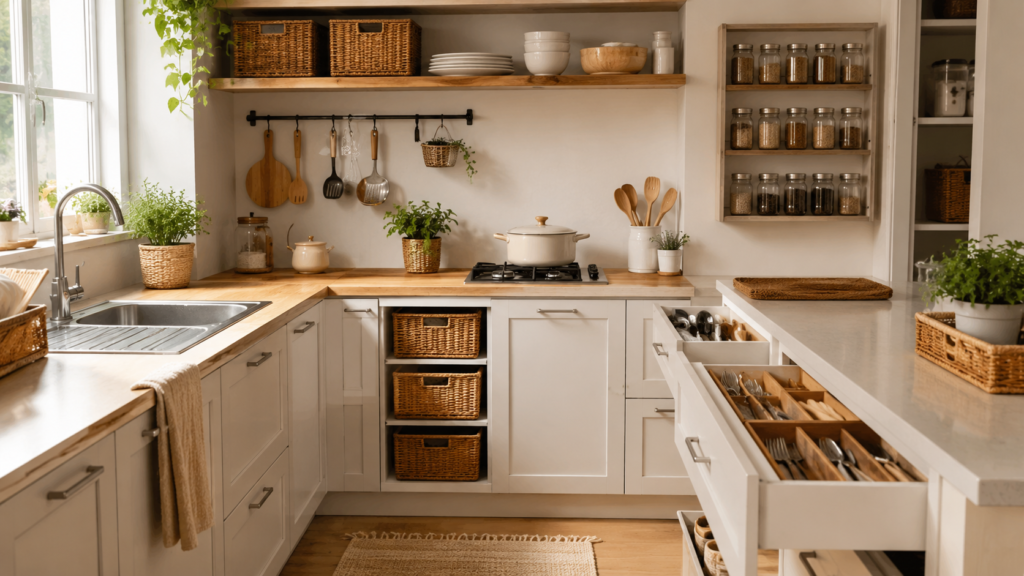
A small kitchen counter has to do several jobs at once.
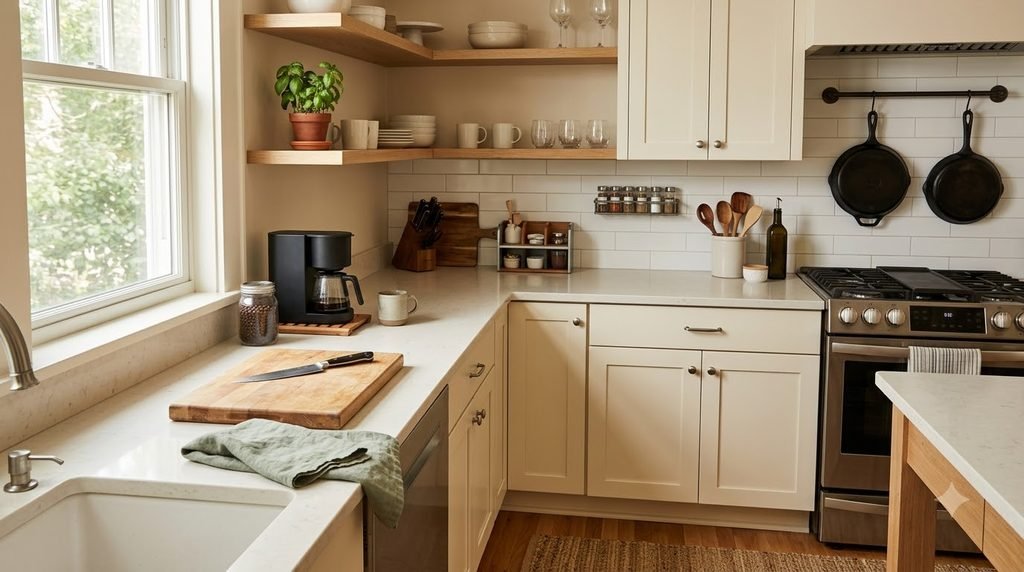
It needs to hold the things you use every day, give you enough room to prepare food, and somehow accommodate the appliances and supplies that seem to multiply over time.
That is why kitchen counters can become cluttered so quickly.
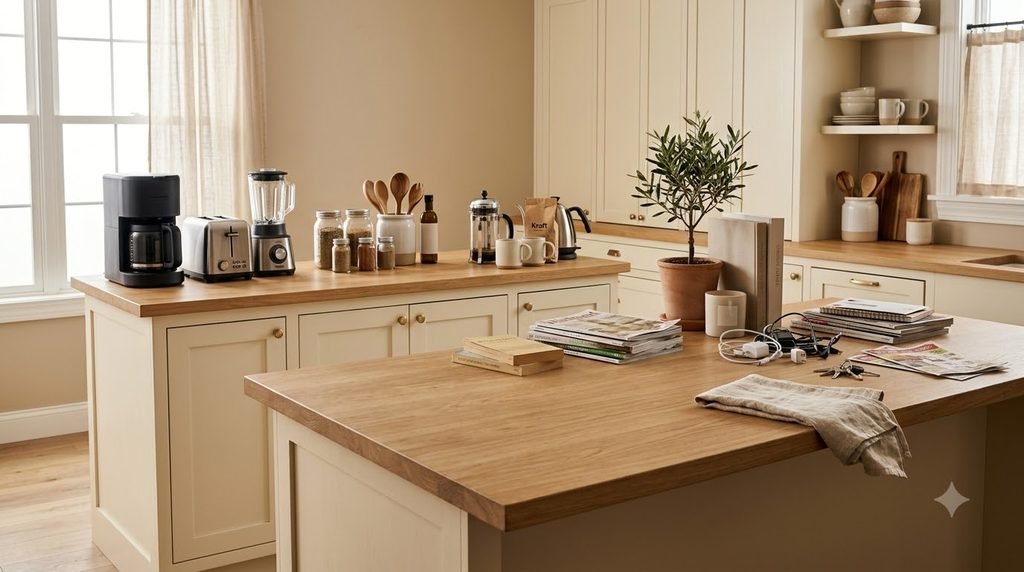
A coffee maker takes one section. A toaster takes another. Cooking oils gather near the stove. Mail lands beside the toaster. A cutting board gets left on the counter. Before long, the surface you actually need for cooking has disappeared.
The solution isn’t necessarily more countertop storage.
It starts with deciding what deserves permanent counter space, what should move somewhere else, and how to protect one usable prep area.
Recent 2026 kitchen-organization guidance similarly focuses on task-based zones, keeping daily-use items accessible, moving occasional-use appliances into storage, and using vertical or mobile storage to free the counter.
Here are practical ways to organize a small kitchen counter without giving up the prep space you actually need.
Amazon Associate Disclosure: As an Amazon Associate I earn from qualifying purchases.
1. Clear the Counter Before Buying Anything
Start with a no-buy reset.
Take everything off the countertop and put it on a nearby table, island, or clean section of floor.
This may feel like you’re making the mess worse, but it gives you a complete view of what is actually using your counter.
Create a few broad groups:
- Daily-use appliances
- Cooking supplies
- Food-prep tools
- Coffee or beverage items
- Decorative items
- Paper and household clutter
- Items that belong somewhere else
Then clean the counter before putting anything back.
Don’t buy an organizer yet.
Recent countertop-organization systems also recommend sorting the surface first and deciding what actually deserves visible space before purchasing storage.
2. Decide What Actually Deserves Counter Space
Not every useful kitchen item needs to live on the counter.
Ask yourself:
Do I use this almost every day?
Does leaving it out make my routine easier?
Would storing it away create more inconvenience than the space it saves?
A coffee maker that runs every morning may earn permanent space.
A blender used once or twice a month probably doesn’t.
The same goes for:
- Toasters
- Air fryers
- Stand mixers
- Rice cookers
- Food processors
- Slow cookers
Your goal isn’t an absolutely empty counter.
It’s a counter where the things left visible have a clear reason for being there.
IKEA’s current guidance similarly recommends keeping daily-use items on the countertop while moving occasional-use appliances into cabinets or other storage.
3. Protect One Real Prep Zone
This is the most important rule for a small kitchen.
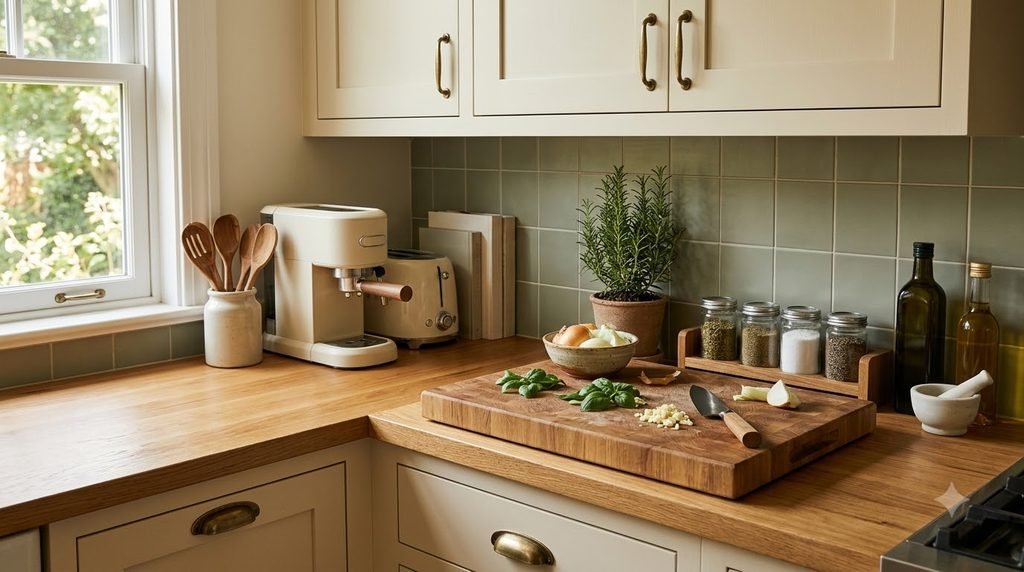
Choose one section of counter and make it your protected prep zone.
It should be large enough for the cutting board, ingredients, mixing bowl, or whatever you typically need while cooking.
Don’t allow storage containers, paperwork, decorative objects, or rarely used appliances to slowly take over this area.
Think of it as reserved workspace.
Even if the rest of the counter has a few permanent items, having one genuinely clear prep strip can make a small kitchen much easier to use.
Current 2026 small-kitchen guidance specifically emphasizes protecting continuous prep space rather than trying to make every inch of the counter perform multiple jobs.
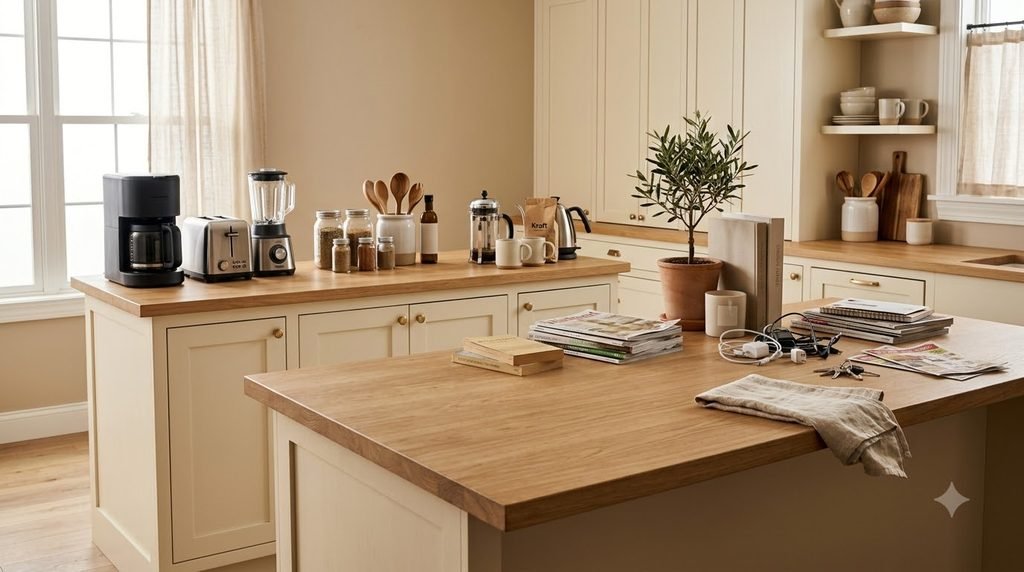
4. Create a Small Cooking Zone Near the Stove
Keep the items you use while cooking close to where the cooking happens.
Depending on your routine, that might include:
- Cooking oils
- Salt and pepper
- Frequently used utensils
- Spoon rest
- Small cutting tools
Instead of spreading these items across the counter, create one defined cooking zone.
A small tray can help contain bottles and make the group easier to move when you need additional workspace.
The goal isn’t to make the area completely bare.
It’s to stop cooking essentials from spreading across the whole counter.
Task-based kitchen organization is also increasingly recommended because storing items close to where they’re used can reduce unnecessary movement and searching.
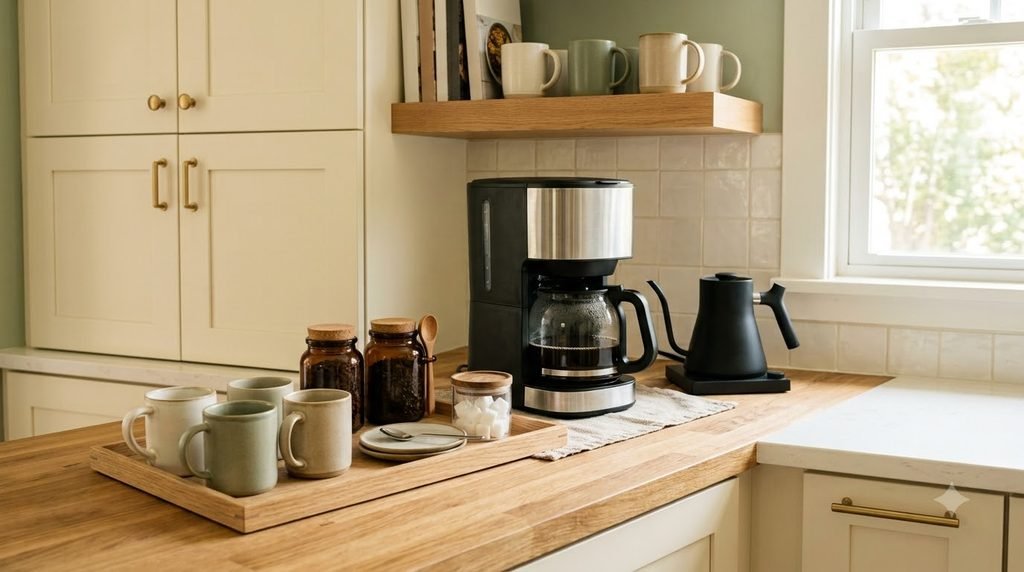
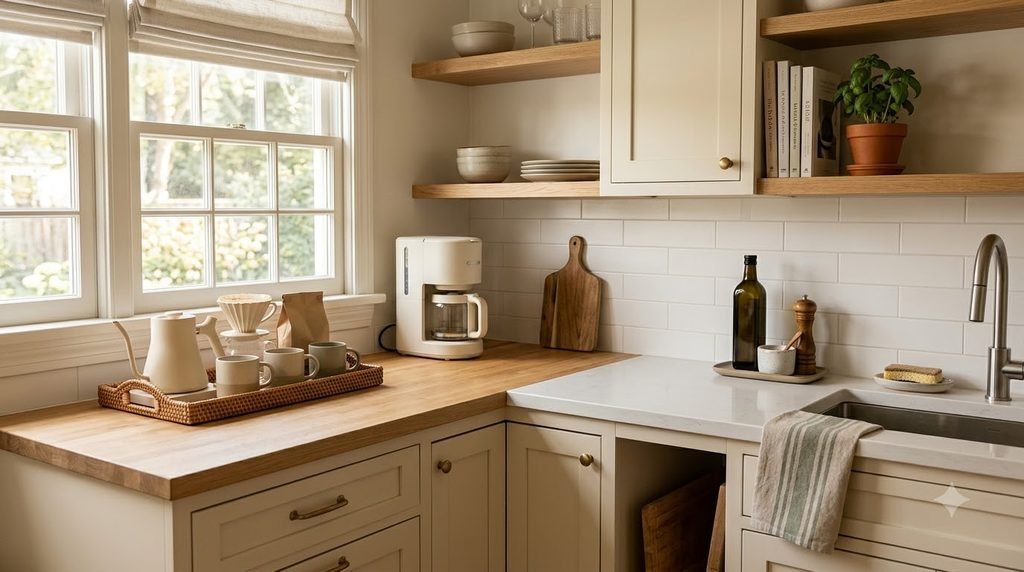
5. Create a Coffee or Beverage Zone
If you make coffee or tea every day, give those items a defined home.
A small beverage zone might include:
- Coffee maker
- Mugs
- Coffee or tea
- Sweetener
- Frequently used accessories
Keep it compact.
If you don’t have enough counter space for everything, move mugs, backup supplies, or specialty equipment into a nearby cabinet or shelf.
The key is to create one intentional zone instead of several scattered items.
Current countertop organization systems also use dedicated coffee/beverage zones to contain frequently used items without letting them take over the entire surface.
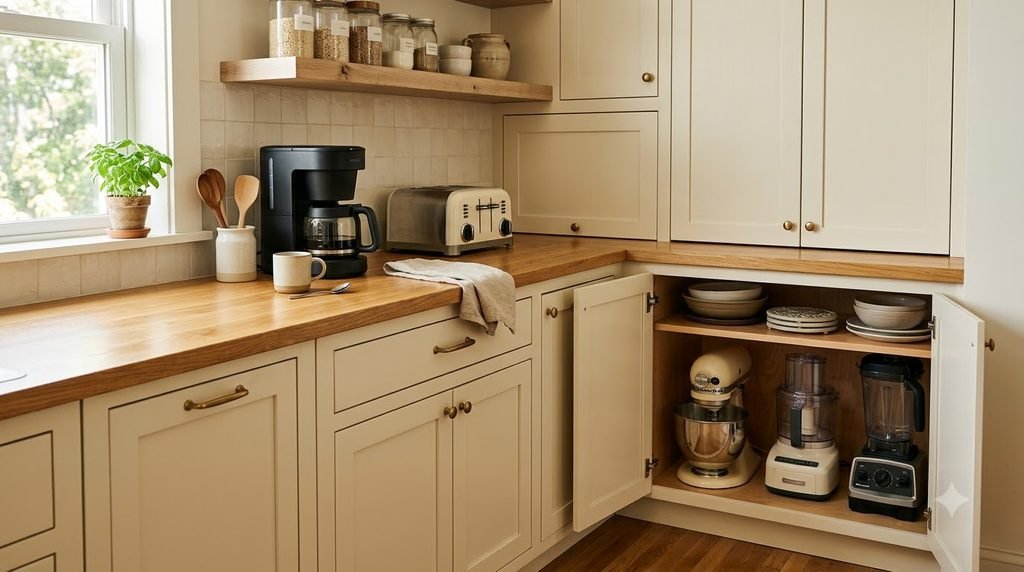
6. Move Occasional Appliances Off the Counter
Large appliances are often the biggest reason small kitchen counters disappear.
Walk through your kitchen and identify appliances you use:
Daily
Several times a week
Occasionally
Almost never
Daily appliances may deserve permanent counter space.
Occasional appliances generally don’t.
If possible, move less frequently used items into:
- Cabinets
- A pantry
- Appliance storage
- A nearby utility cart
- A deep shelf
A useful question is:
Would I rather spend 20 seconds taking this appliance out, or lose a large section of prep space every day?
For many small kitchens, the answer becomes obvious.
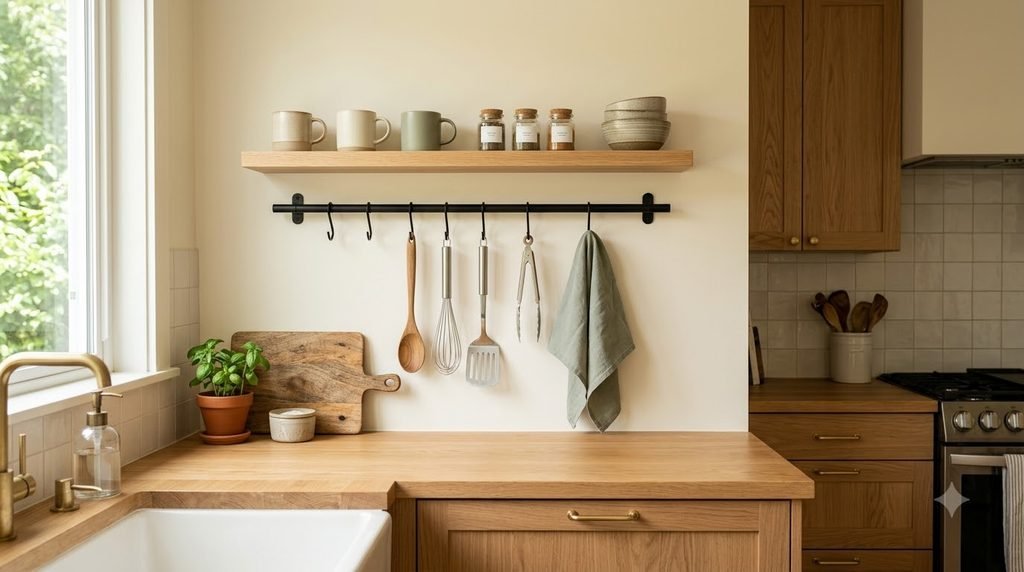
7. Use Vertical Wall Space
When counter space is limited, look above it.
Depending on your kitchen layout, vertical storage can hold:
- Cooking utensils
- Mugs
- Small shelves
- Spices
- Measuring tools
- Frequently used accessories
Options can include:
- Floating shelves
- Rails with hooks
- Pegboards
- Magnetic storage
- Wall-mounted baskets
The goal is to move selected items up, not simply move clutter from one surface to another.
Recent kitchen-organization coverage continues to emphasize vertical storage because it adds capacity without taking up more floor or counter area.
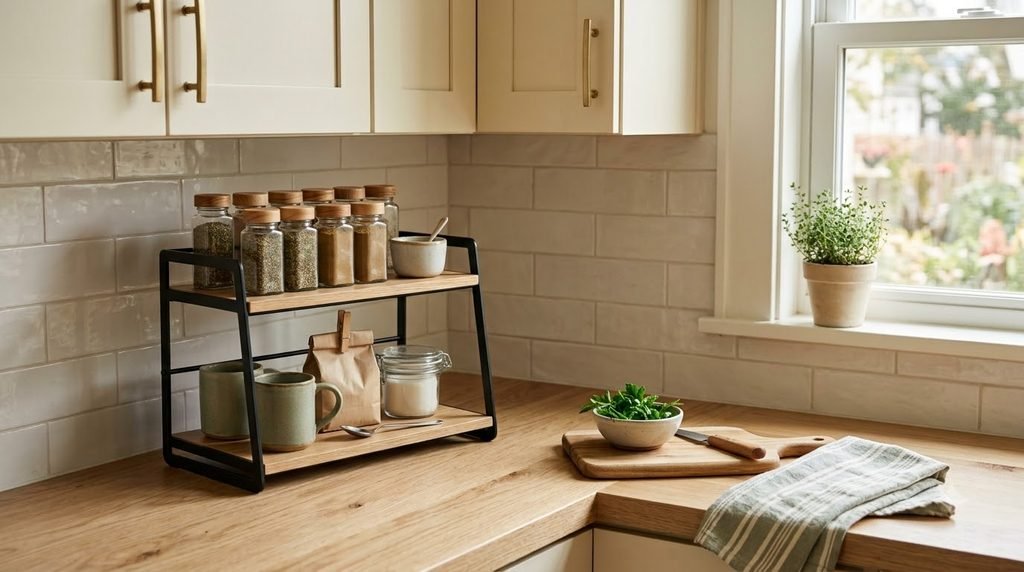
8. Add a Tiered Shelf Where It Actually Helps
A tiered counter shelf can create another storage level without requiring additional floor space.
It can be useful for:
- Coffee supplies
- Spices
- Small jars
- Frequently used condiments
- Tea supplies
But don’t use one simply because it looks organized.
If a shelf makes your prep zone smaller or makes frequently used items harder to access, it isn’t solving the right problem.
Tiered Counter Organizer
Best for: Small groups of frequently used kitchen items
What to look for: Width, depth, height, stability, and enough clearance to reach items on the lower level.
→ Check the current price on Amazon
Measure your available counter space first.
9. Keep Spices and Oils Together
Spices, oils, salt, pepper, and sauces can easily spread around the kitchen.
Instead of giving every bottle its own permanent location, group frequently used cooking essentials into one defined zone.
A tray can work well for oils and seasonings near the stove.
A small riser can make bottles easier to see if you have a narrow counter area.
But avoid building a giant “everything cooking” station.
Keep only what you use regularly within easy reach.
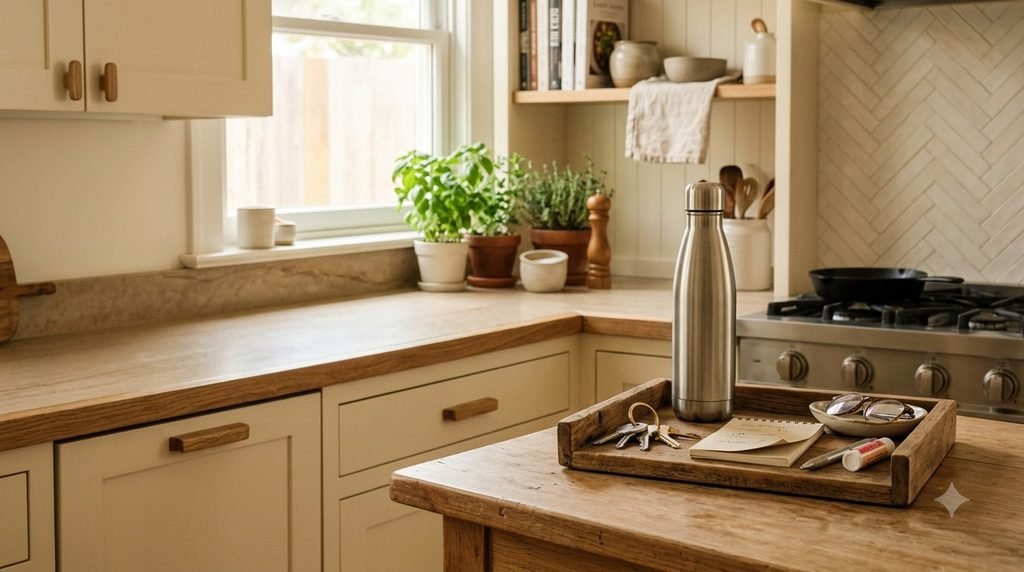
10. Create a Small Daily-Essentials Landing Zone
Kitchen counters often become drop zones for things that aren’t actually kitchen items.
Keys.
Mail.
Receipts.
Water bottles.
School papers.
Random chargers.
Instead of letting those objects spread everywhere, create one small temporary landing zone—or better, move them out of the kitchen altogether.
A tray near the entrance or a dedicated home-organization station elsewhere in the house can prevent the kitchen counter from becoming the family’s default dumping ground.
If the kitchen is the only realistic drop zone, keep the area deliberately small.
Once it fills, that’s your signal to reset it.
11. Manage Appliance Cords
Even when the counter itself is organized, appliance cords can make it look chaotic.
Instead of letting cords spread across the surface:
- Route them toward the wall
- Bundle excess cable where safe
- Keep unplugged appliances stored away when practical
- Avoid leaving unused cords stretched across the prep area
The goal is both visual and practical.
A loose cord can get in the way when you’re chopping, mixing, or wiping the counter.
12. Use the Space Under Upper Cabinets Carefully
The area beneath upper cabinets is another opportunity for compact storage.
You might use suitable under-cabinet systems for:
- Paper towels
- Mugs
- Small utensils
- Everyday spices
- Lightweight accessories
But don’t fill the entire underside.
Your objective is to free counter space, not create a wall of storage that makes the kitchen feel cramped.
Choose one storage solution for one recurring problem.
That’s usually enough.
13. Keep Mail and Non-Kitchen Clutter Off the Counter
This sounds obvious, but it is one of the biggest causes of kitchen-counter clutter.
The kitchen is often the most convenient flat surface in the house.
That doesn’t mean it should become the home’s filing cabinet.
Create separate homes for:
- Bills
- School papers
- Packages
- Keys
- Wallets
- Chargers
Your kitchen counter should support food preparation and daily kitchen activities.
The more unrelated categories live there, the harder it becomes to maintain.
14. Leave One Section Visually Clear
Even after organizing everything, don’t fill every available surface.
A visually clear section makes the entire kitchen feel less crowded.
Ideally, your counter should have:
A protected prep area
Small task-based zones
Some visible breathing room
Not every inch needs a purpose.
Sometimes leaving space empty is the organization solution.
Current countertop guidance also emphasizes maintaining clear surface percentages and avoiding the temptation to fill all available space.
15. Create a 5-Minute Kitchen Counter Reset
You don’t need to reorganize your kitchen every weekend.
A five-minute reset can prevent the counter from slowly becoming cluttered again.
Minute 1
Remove mail, keys, papers, and unrelated household items.
Minute 2
Return appliances and cooking supplies to their assigned zones.
Minute 3
Clear the protected prep area.
Minute 4
Straighten trays, shelves, and everyday items.
Minute 5
Wipe the counter and leave the main prep section empty.
That’s enough.
A small reset repeated regularly is easier than waiting until the entire surface has disappeared beneath clutter. IKEA also recommends a short regular reset to keep countertop organization from breaking down.
How to Decide What Should Stay on Your Counter
When you’re unsure whether something should remain visible, ask five questions:
1. Do I use it almost every day?
If yes, it may earn counter space.
2. Does storing it away make my routine harder?
If yes, keeping it accessible may make sense.
3. Is it taking up valuable prep space?
If yes, look for another location.
4. Can I group it with similar items?
Grouping often reduces visual clutter.
5. Would I notice if it disappeared from the counter?
If not, it may not need permanent visible space.
The goal isn’t a completely empty kitchen.
It’s a kitchen where every item left out has a reason.
What Not to Keep on a Small Kitchen Counter
A small counter usually benefits from moving these categories elsewhere:
- Bulk paper products
- Cleaning supplies
- Backup pantry items
- Rarely used appliances
- Random paperwork
- Excess cookbooks
- Unused decorative items
- Extra packaging
- Appliances used only occasionally
That doesn’t mean every item must disappear behind a cabinet door.
It means limited counter space should go to the things that support your actual kitchen routine.
How to Choose a Counter Organizer
Before buying anything, measure.
Check:
Width — how much horizontal space can you give up?
Depth — will the organizer reduce your prep area too much?
Height — will cabinets still open?
Access — can you reach everything easily?
Cleaning — can crumbs, grease, and spills be cleaned around it?
Purpose — what exact recurring problem is it solving?
A storage product isn’t successful because it holds more.
It’s successful when it makes the kitchen easier to use.
A Simple Small-Kitchen Counter System
A practical setup might look like this:
Zone 1 — Prep
Keep this as clear as possible.
Zone 2 — Cooking
Frequently used oils, seasonings, and utensils.
Zone 3 — Beverage
Coffee or tea essentials if they’re used daily.
Zone 4 — Appliance
Only appliances that genuinely earn permanent counter space.
Zone 5 — Clear Space
Leave part of the counter open simply because having open workspace matters.
For a very small counter, you don’t need every zone.
Choose the zones that match your household.
A current countertop organization framework similarly recommends adapting the number of zones to the size of the counter rather than forcing every kitchen into the same layout.
Don’t Buy Storage Before You Clear the Counter
This is worth repeating.
A common mistake is buying organizers before identifying the problem.
You can spend money on:
- Trays
- Racks
- Risers
- Bins
- Wall shelves
- Carts
and still have a cluttered counter.
Start with:
Remove → Group → Measure → Assign → Organize
Only then decide whether a product is needed.
This approach also fits the broader JessicaMillers organization philosophy: simple systems should make everyday spaces easier to use rather than adding more things to manage.
Final Thoughts
A small kitchen doesn’t need a completely empty countertop.
It needs a countertop that supports the way you actually use the kitchen.
Keep daily-use appliances accessible.
Group cooking essentials near the task where you use them.
Give coffee or beverage items a defined zone.
Move occasional appliances out of the way.
Use vertical storage when appropriate.
Protect one real prep area.
And leave some space empty on purpose.
The most useful kitchen counter isn’t the one holding the most things.
It’s the one that still gives you room to prepare a meal when you need it.
Related JessicaMillers Articles
For more kitchen and home organization ideas:
21 Small Kitchen Organization Ideas to Maximize Every Inch
https://jessicamillers.com/small-kitchen-organization-ideas/
15 Pantry Organization Ideas to Make Your Kitchen Easier to Use
https://jessicamillers.com/pantry-organization-ideas/
15 Smart Home Organization Solutions for Everyday Clutter
https://jessicamillers.com/smart-home-organization-solutions/
How to Organize a Junk Drawer So It Actually Stays Tidy
https://jessicamillers.com/junk-drawer-organization/
How to Organize a Small Home Office When You Don’t Have Much Space
https://jessicamillers.com/small-home-office-organization/